If your children are anything like mine (or if you bring them along to one of the Little ARTventurers classes!) then your home will be overflowing with masterpieces and creations and you'll be struggling to find places to stick them all (a fridge door and kitchen wall is only so big!)
What we do in our house is have a "gallery" in the kitchen where we display the most recent or favourite creations - these are replaced with each fresh batch from my little artists and then the favourite pieces are labelled and dated by me and go upstairs into their big art folders (the portfolio type that students have) to be kept until they're bigger. There are also some paintings and drawings which (dare I say it) do go into the recycling bin - the children know we simply can't keep each and every piece that they've created!
Sounds good and organised in theory - but there are still times when you don't want to hide a favourite painting away, or you want to do something creative with their artwork or simply share it! Here's some of my favourite ideas.....
1. Create a gallery
Easy - choose a space in your home and make it into the children's own gallery - a wall in their bedroom or a pinboard, a kitchen wall, somewhere in the hall.....children love to see their artwork proudly displayed and it really does help their confidence and self esteem. We use simple old blu tac for our gallery hangings! But I really like this idea from Ikea, using wire curtain rods and clips
2. Frame it!
Some of my very favourite drawings and paintings that Erin and Isaac have produced over the years I have had framed and they're hung around the house in various places. Personally I think they are a lot cuter and much more personal that an Ikea print! I'm also just about to frame a lovely "letter to mummy" that Erin did at school for Mothers Day. I like simple clip frames for kids art - they are easy to open and replace with a new painting whenever you want. Or the freestanding arylic blocks are also great.
3. Scan it
If you can't or don't want to store bits of paper forever and a day then scan and save the artwork so you've still got a permanent reminder of it. At the end of each year you could make a photobook or a calender with your favourite pieces - and great for including pictures of models, clay creations etc which you simply can't keep!
3. Use it for wrapping paper!
We do this a lot with paintings which come home from school and nursery - I save them up and we use them to wrap up presents for their friends and for family. A bit more personal that wrapping paper from Morrisons!
4. Display artwork on a digital frame
I stole this idea from a friend and think it's a really great space saving idea - she scans or photographs her favourite pictures and drawings, and uploads them (is that the right technical term??) onto a digital photo frame! The children love seeing their pictures and drawings appearing on the frame
5. Give it away as gifts
My childrens auntie and cousin and one of their granny's don't live nearby so we save special artwork for the children to take as presents when they go to visit or send it in the post
6. Make jigsaw puzzles!
Of course it depends on the type of artwork but if it's a drawing then mount on a piece of card and then cut into jigsaw pieces for your child to play with! Don't forget to take a photo of the complete picture first before you start chopping it up!
7. Make greetings cards (or other gifts)
Again I put aside some paintings and drawings to make into cards - for thank you cards after their birthdays etc. I just chop the artwork to size (you do have to be a bit brutal!), mount on a piece of folded A4 card and hey presto! If you don't want to do this yourself there are also all sorts of sites nowadays where you can have artwork made into professionally printed cards - My Design Made (http://www.mydesignmade.com/) is one local business that does a great job of gently enhancing your childrens creations (if it needs it!) before printing it onto stationary (and other gifts too!). There are sites where you can have scanned artwork printed onto canvas bags, tea towels, teddies... you name it!
8. Laminate it
Love this idea and have two paintings set aside to try it with - I'm going to laminate them and let Erin and Isaac use them as placemats. I think they'll love the idea!
Hope some of these ideas are hepful and might have given you some inspiration on what to do with your own little ARTventurers artwork - remember children do love to see their own artwork proudly on display so save, use and display your favourites but please don't feel guilty about having to send some on their recycling journey! And if you have any other ideas please share!
Sunday, 13 May 2012
Tuesday, 8 May 2012
Muffin tin printing!
This week at Little ARTventurers we're exploring circles and trying print making! The activity that really went down a storm at this mornings class was making prints with cakes and muffin tins - lots of fun and really simple to try at home
You'll need
Muffin or cake tins
Ready mix paint
Brushes/rollers/sponges
Large sheets of paper (the children wanted to do lots of these prints so have lots of paper on standby!)
Cotton wool buds
The children painted the base of the tins with paint - some wanted to brush the paint on, some using rollers and some used their hands! With the large round cake tins they could then use the cotton wool buds to draw patterns in the paint.
Press the cake tin onto the paper firmly - 1,2,3...and hey presto you've got a fab print!
You'll need
Muffin or cake tins
Ready mix paint
Brushes/rollers/sponges
Large sheets of paper (the children wanted to do lots of these prints so have lots of paper on standby!)
Cotton wool buds
The children painted the base of the tins with paint - some wanted to brush the paint on, some using rollers and some used their hands! With the large round cake tins they could then use the cotton wool buds to draw patterns in the paint.
Press the cake tin onto the paper firmly - 1,2,3...and hey presto you've got a fab print!
Friday, 4 May 2012
Spin paintings with salad spinners! - our guest blog on Tate Kids!
I was thrilled recently when the Tate Kids website (the Tate Gallery's website for children) asked me to write a guest blog for them about one of the art projects I'd recently done with the Little ARTventurers.
It was a fun activity we'd done using salad spinners (yes, that kitchen essential of the late 70s, very retro!) to create Hirst-inspired spin paintings! Great fun for toddlers - there were lots of laughs and "wow"s during the session!
Anyway, here's the blog ......
http://kids1.tate.org.uk/blog/?p=1337
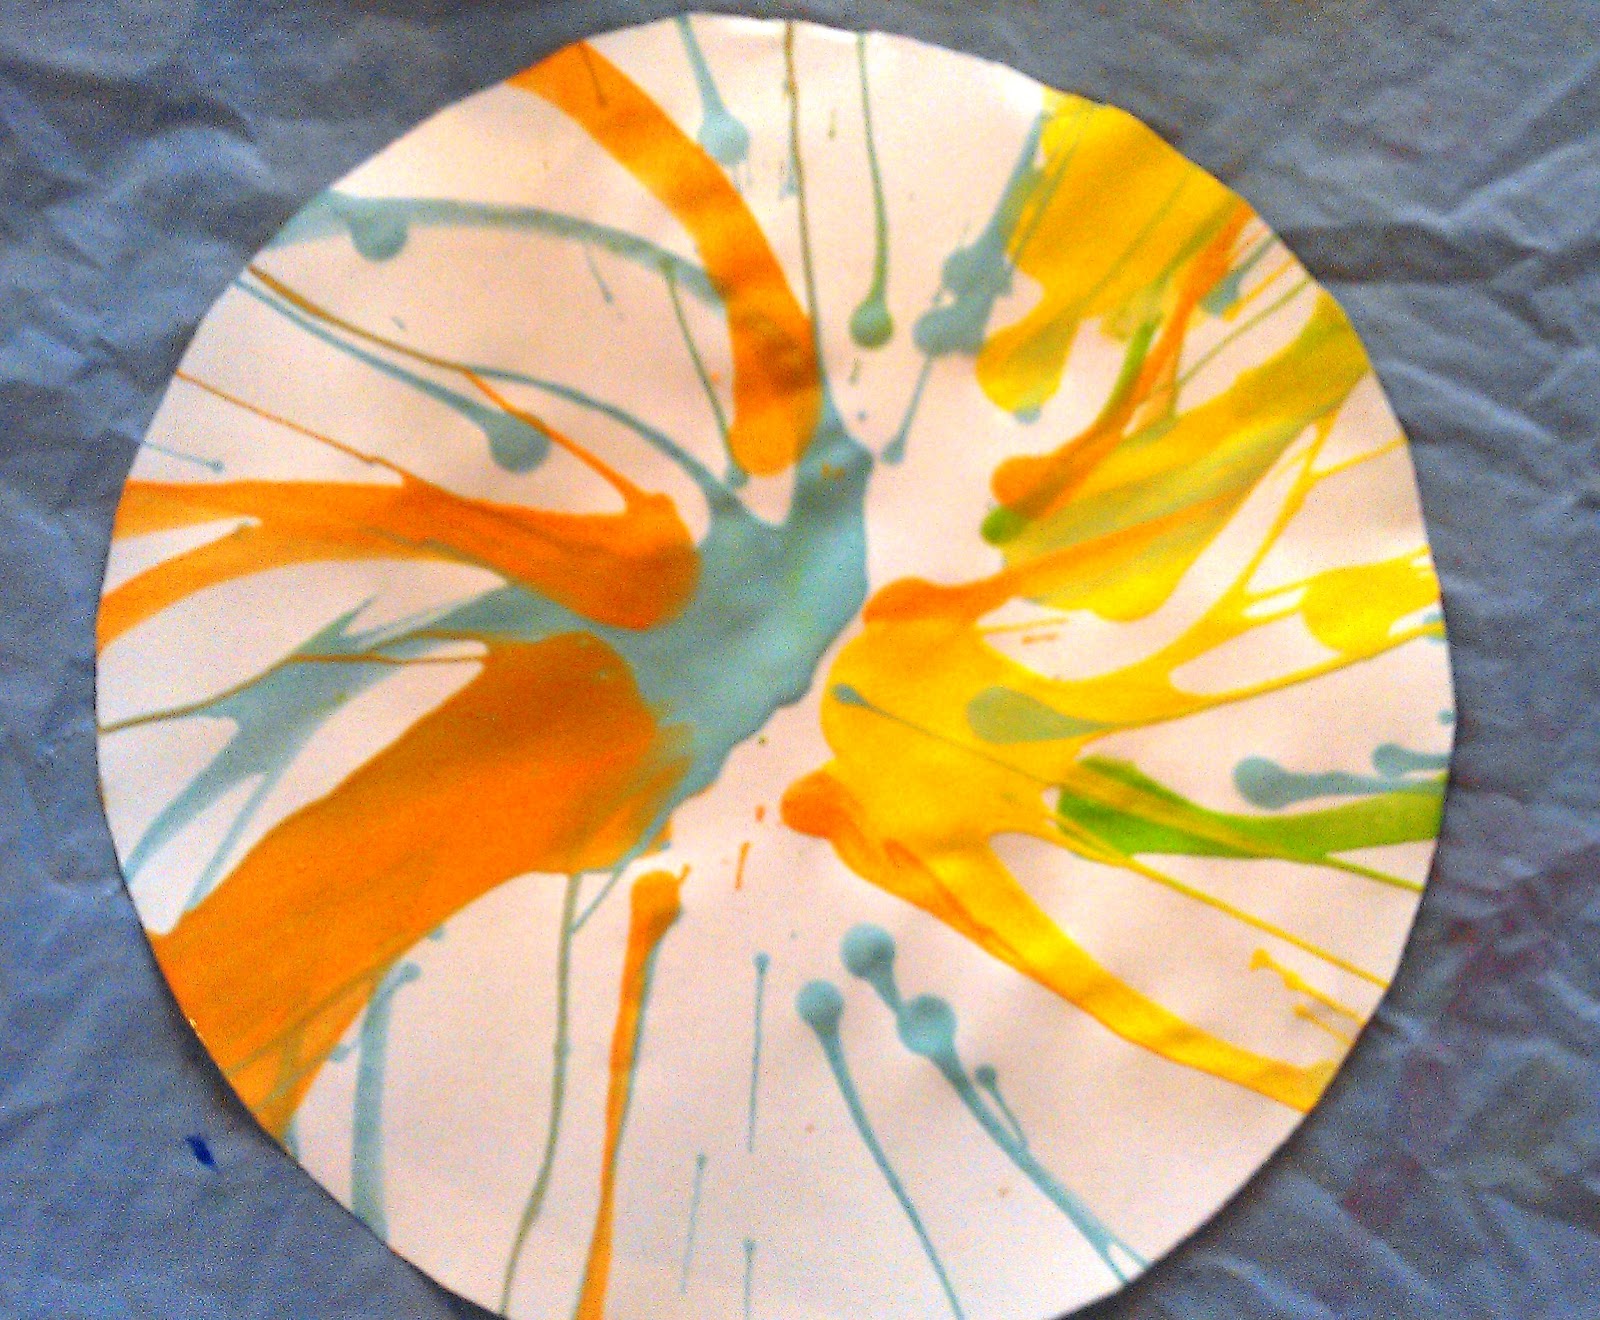
And a couple of pictures of our spin paintings too!
It was a fun activity we'd done using salad spinners (yes, that kitchen essential of the late 70s, very retro!) to create Hirst-inspired spin paintings! Great fun for toddlers - there were lots of laughs and "wow"s during the session!
Anyway, here's the blog ......
http://kids1.tate.org.uk/blog/?p=1337
And a couple of pictures of our spin paintings too!
Thursday, 3 May 2012
"Ugly Bugs" week at Little ARTventurers
It's still yukky, grey and cold outside - really hard to believe that it's May already!
We had loads of colourful fun at Little ARTventurers this week though despite those grey skies - the little ones made some fab things so thought I'd share a few pics and activities with you.....
Handprint Butterflies
These were a big hit with the mums/dads/grans/carers - handprint activities are always lovely to look back on, difficult to believe that their hands were ever that small! We started by making handprints on card with ready mix paint - varying degrees of success acheived but they didn't need to be perfect! The first class I ran this week I think I got a bit too giddy with the paint and there were some super-squelchy prints! Subsequently I painted a thin-ish layer of paint on the plate for printing and that worked better
How will you make your handprint - plonk your hands straight into the paint? Get paint on one then rub them together? Paint or sponge your hand?...loads of different ways to try!
Whilst the children were occupied with other activities I quickly cut the prints out and they then made them into these lovely sparkly butterflies - easy and self explanatory really. We added a hole and then hung them up with ribbon :)
Paper plate bugs
A lovely easy activity which I combined with some scissor practice too - plates and paint, splodgers for spots, wiggly eyes, cardboard and scissors for cutting their own stripes or features.....they turned out great! I have a range of different scissors - the easy-grip sprung type for the littlies, some of the teaching scissors with double holes, normal safety scissors....I personally found teaching my own two children to use scissors quite tricky and so I'm always keen to incoporate scissor practice in the classes. In fact I think that scissor skills might be one of my next blog posts.......
Anyway, here's some of our Ugly Bugs......
We also made some cute very Hungry Caterpillars out of the letter "c" - plus some squidgy paint butterflies too!
We had loads of colourful fun at Little ARTventurers this week though despite those grey skies - the little ones made some fab things so thought I'd share a few pics and activities with you.....
Handprint Butterflies
These were a big hit with the mums/dads/grans/carers - handprint activities are always lovely to look back on, difficult to believe that their hands were ever that small! We started by making handprints on card with ready mix paint - varying degrees of success acheived but they didn't need to be perfect! The first class I ran this week I think I got a bit too giddy with the paint and there were some super-squelchy prints! Subsequently I painted a thin-ish layer of paint on the plate for printing and that worked better
How will you make your handprint - plonk your hands straight into the paint? Get paint on one then rub them together? Paint or sponge your hand?...loads of different ways to try!
Whilst the children were occupied with other activities I quickly cut the prints out and they then made them into these lovely sparkly butterflies - easy and self explanatory really. We added a hole and then hung them up with ribbon :)
Paper plate bugs
A lovely easy activity which I combined with some scissor practice too - plates and paint, splodgers for spots, wiggly eyes, cardboard and scissors for cutting their own stripes or features.....they turned out great! I have a range of different scissors - the easy-grip sprung type for the littlies, some of the teaching scissors with double holes, normal safety scissors....I personally found teaching my own two children to use scissors quite tricky and so I'm always keen to incoporate scissor practice in the classes. In fact I think that scissor skills might be one of my next blog posts.......
Anyway, here's some of our Ugly Bugs......
We also made some cute very Hungry Caterpillars out of the letter "c" - plus some squidgy paint butterflies too!
Monday, 16 April 2012
Bubble wrap painting!
I've been busy busy planning all of the different activities for the pre school classes this half term (new term starts tomorrow!) and bubble wrap painting has to feature on there somewhere. Whenever bubble wrap comes out children just love the stuff - it's so tactile and sensory. So the combination of bubble wrap and paint has to be a winning one!
Over time I've tried different bubble wrap painting techniques and used the activity on various different projects. Last half term I did a holiday session where we bubble wrap painted with large heart shapes for Valentines day which was very cute - we also did bubble wrap sea creatures earlier this year.
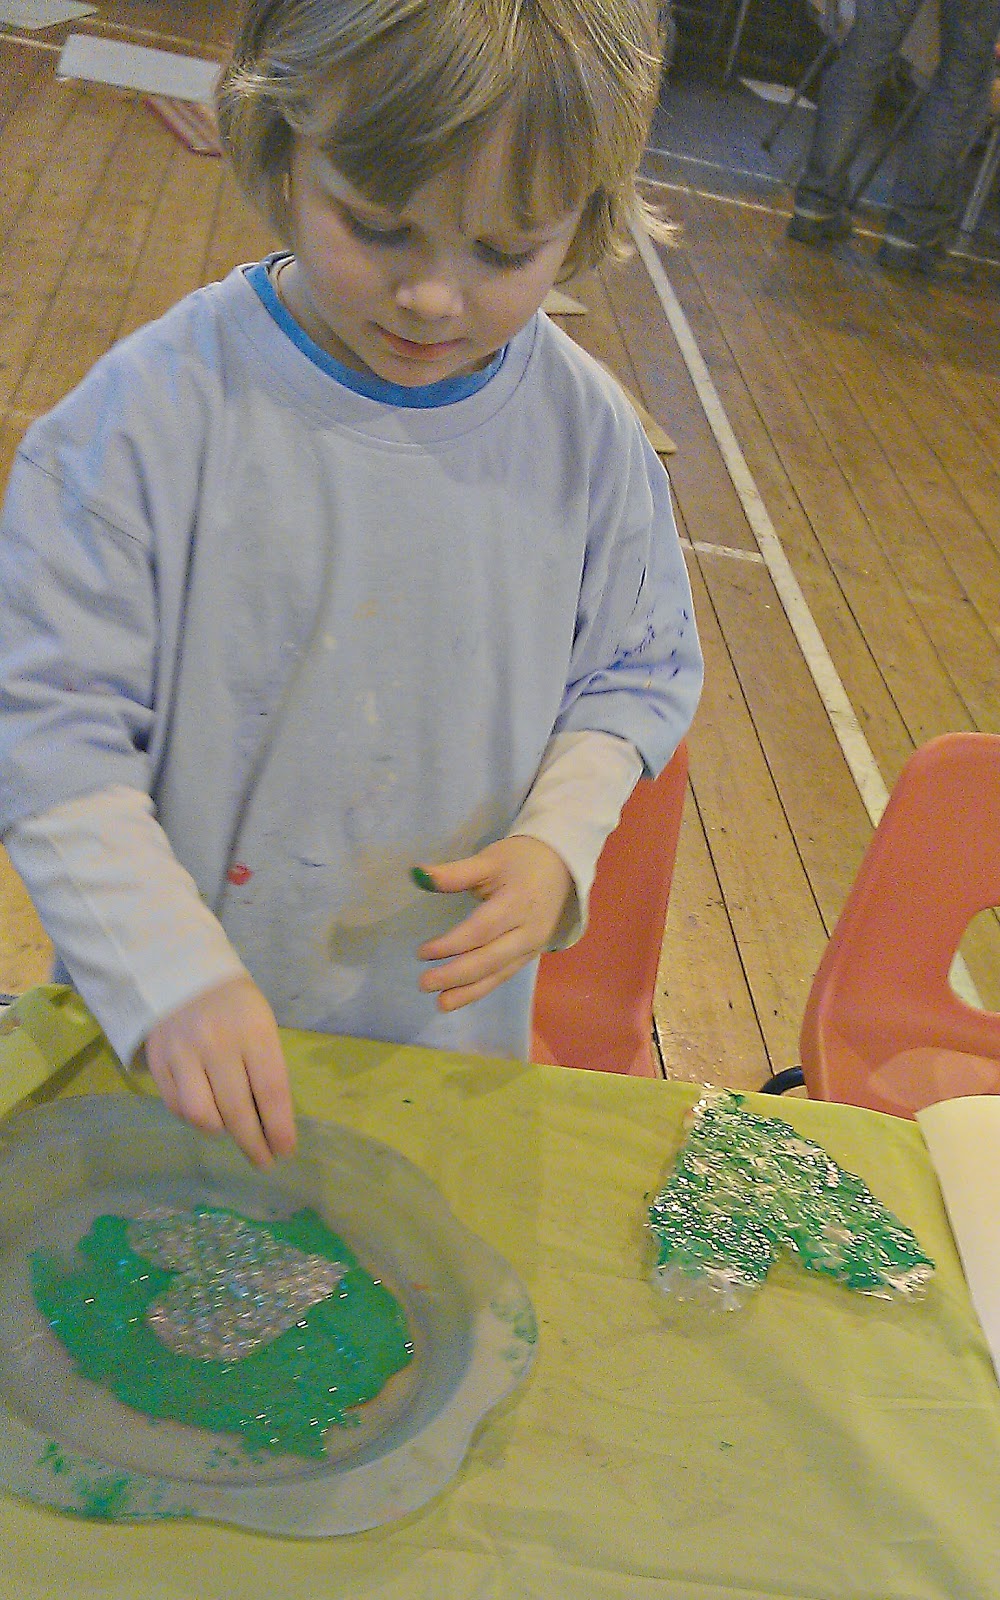
Technique one is the easiest - simply cut up strips of bubble wrap and provide large plates of paint. The children can press the bubble wrap into the paint and then onto the paper to make prints - simple as that! Or some children prefer to have a brush or sponge to paint onto the bubble wrap first before pressing onto the paper. Mixing colours on the paper looks fab.
Technique two is also great fun - I made bubble wrap rollers by wrapping sheets of bubble wrap round some mini rolling pins - the children could then roll them through the paint and then onto the paper. Not quite as tactile but still lots of fun and great for coordination!
Over time I've tried different bubble wrap painting techniques and used the activity on various different projects. Last half term I did a holiday session where we bubble wrap painted with large heart shapes for Valentines day which was very cute - we also did bubble wrap sea creatures earlier this year.
Technique one is the easiest - simply cut up strips of bubble wrap and provide large plates of paint. The children can press the bubble wrap into the paint and then onto the paper to make prints - simple as that! Or some children prefer to have a brush or sponge to paint onto the bubble wrap first before pressing onto the paper. Mixing colours on the paper looks fab.
Technique two is also great fun - I made bubble wrap rollers by wrapping sheets of bubble wrap round some mini rolling pins - the children could then roll them through the paint and then onto the paper. Not quite as tactile but still lots of fun and great for coordination!
Wednesday, 11 April 2012
Squishy squidgy homemade playdough!
I've been meaning to post this for a while - the homemade playdough recipe I use for my toddler classes. Cheap, quick and easy to make and always attracts a stampede of tiny tots!
The Benefits of Playdough play
As all of us grown ups will know, there is something really therapeutic about playing with playdough - and it has lots of benefits in toddler play too. Squishing, squidging, cutting and modelling helps to strengthen fingers, hands and wrists and improves hand-eye coordination and fine motor skills. Playdough play really helps develop imaginative and creative skills - it can be monsters, animals, cakes, people, houses......It's also a really great medium for the release of tension in toddlers - squeezing it, pummelling it, jabbing and poking!
I had an interesting discussion with a childcare lecturer recently about the use of playdough play to tackle toddler biting problems - apparently giving the child playdough and some serrated cookie cutters to cut into the playdough with will give them the same relief from tension and hopefully stop the problem of the toddler biting other children! Got to be worth a try...
Playdough is also fantastic for first cutting practice with scissors. Teaching a child how to cut with scissors is, I think, one of the trickiest things! You can roll dough into a long sausage and encourage your child to cut into it using safety scissors - it's much easier to cut than card or paper and produces instantly gratifying results!
Here's the playdough recipe I use
2 cups plain flour
2 teaspoons cream of tartar
1 cup of salt
2 tablespoons oil
2 cups water
food colouring (optional)
Put all of the dry ingredients in a pan and mix well - add the wet ingredients and mix/stir to remove lumps. I tend to use a balloon whisk for this stage. Cook over a medium heat, stirring constantly with a wooden spoon. You'll know when it's cooked as a small piece rolled into a ball won't feel sticky or leave a trace on your hand.
Cool, knead well and store in an airtight container or wrapped well in cling film.
If stored in the fridge the playdough will keep for ages!
What to use during playdough play?
Obviously cookie cutters are the obvious but I like to introduce lots of different materials to the playdough table to encourage imaginative play
matchticks and lolly sticks
feathers
cupcake cases and baking tins
rolling pins
wiggly eyes and large sequins (not for very young children)
buttons
clay extruders
baking tins
birthday cake candles
twigs
play scissors
plastic tea set and cutlery
farm animals and dinsoaurs
twigs
Thing to add to playdough
It's nice to spice things up and vary the playdough a little! With toddlers bright colours (food colouring) and glitter always go down a storm - just add the glitter as the playdough is cooking. Try different scents - peppermint, vanilla, cinammon. Porridge oats adds great texture to playdough play
Enjoy and have fun!
The Benefits of Playdough play
As all of us grown ups will know, there is something really therapeutic about playing with playdough - and it has lots of benefits in toddler play too. Squishing, squidging, cutting and modelling helps to strengthen fingers, hands and wrists and improves hand-eye coordination and fine motor skills. Playdough play really helps develop imaginative and creative skills - it can be monsters, animals, cakes, people, houses......It's also a really great medium for the release of tension in toddlers - squeezing it, pummelling it, jabbing and poking!
I had an interesting discussion with a childcare lecturer recently about the use of playdough play to tackle toddler biting problems - apparently giving the child playdough and some serrated cookie cutters to cut into the playdough with will give them the same relief from tension and hopefully stop the problem of the toddler biting other children! Got to be worth a try...
Playdough is also fantastic for first cutting practice with scissors. Teaching a child how to cut with scissors is, I think, one of the trickiest things! You can roll dough into a long sausage and encourage your child to cut into it using safety scissors - it's much easier to cut than card or paper and produces instantly gratifying results!
Here's the playdough recipe I use
2 cups plain flour
2 teaspoons cream of tartar
1 cup of salt
2 tablespoons oil
2 cups water
food colouring (optional)
Put all of the dry ingredients in a pan and mix well - add the wet ingredients and mix/stir to remove lumps. I tend to use a balloon whisk for this stage. Cook over a medium heat, stirring constantly with a wooden spoon. You'll know when it's cooked as a small piece rolled into a ball won't feel sticky or leave a trace on your hand.
Cool, knead well and store in an airtight container or wrapped well in cling film.
If stored in the fridge the playdough will keep for ages!
What to use during playdough play?
Obviously cookie cutters are the obvious but I like to introduce lots of different materials to the playdough table to encourage imaginative play
matchticks and lolly sticks
feathers
cupcake cases and baking tins
rolling pins
wiggly eyes and large sequins (not for very young children)
buttons
clay extruders
baking tins
birthday cake candles
twigs
play scissors
plastic tea set and cutlery
farm animals and dinsoaurs
twigs
The Little ARTventurers made playdough cakes for Arty Bear on his birthday :)
A feathered friend!
Thing to add to playdough
It's nice to spice things up and vary the playdough a little! With toddlers bright colours (food colouring) and glitter always go down a storm - just add the glitter as the playdough is cooking. Try different scents - peppermint, vanilla, cinammon. Porridge oats adds great texture to playdough play
Enjoy and have fun!
Tuesday, 27 March 2012
Finger (and hand and foot!) painting!
Finger painting (and painting with other parts of the body) is great fun and essential for the creative development of babies and young children. It is messy but one of the cheapest and easiest activities that you can do with your little one - and with the weather warming up it's also a great activity to do out in the garden!
Here's my tips for a fun and stress free painting experience!
1. Prepare your area. It's not going to be a fun experience for you or your child if you can't relax because you're too worried about the mess! Cover the painting surface with newspaper or a large sheet or cloth. I do a lot of activities at my toddler classes on the floor - it allows the children to move around and explore without the restriction of a table and chair - and have huge pieces of plastic sheeting I use to cover the floor. Fill a bowl with some warm soapy water ready for washing and either get your child (and you) into some clothes you don't mind getting a bit painty. Or even strip your little one down to nappy or pants if it's warm enough! Have some towels and wipes/kitchen towel handy. Also have an area ready to put down the finished artwork - if you're doing this outside you can peg the finished paintings on the washing line to dry!
2. Get some large pieces of thick paper. Thin copier paper won't withstand an enthusiastic painter! I love lining paper - cheap to buy in bulk and you can cut off as much as you want. Thick sugar paper is also good. The bigger the better as it allows your little one the freedom to get creative over a much bigger space.
3. Use thick paint. It reduces splashing from enthusiastic little hands. The texture of the paint is also important for little ones to allow them to explore the sensation of the paint on their hands and fingers. You can buy paint especially made thicker for finger painting (ELC sell pots of it) or you can make your own using cornflour, water and food colouring! You can also add texture to the finger painting experience by adding a little play sand to paint for extra sensory stimulation.
4. If you're trying finger painting with a very young child who is still exploring everything with their mouth try making "edible paint" - finger painting with vegetable purees (carrot, pea), drinking chocolate, yoghurt, even jelly is lots of fun!
4. Use plates to put the paint onto so it's accessible for little fingers and hands. I have a load of plastic dinner plates that are fab for toddler painting.
5. Choose bright vibrant colours and put out one colour on each plate. Otherwise it will quickly become a large brown sludgy mess! But encourage colour mixing on the paper - what happens if you put red over the yellow or blue and red?
6. Some children will dive straight into the paint and get started straight away! Some will be wary of the sensation of the paint on their hands and be unsure what to do. Show them by getting stuck in yourself - show them how to make fingerprints and handprints on the paper and they'll soon get the hang of it! Some children may be happier to have their fingers or hand painted with a paint brush first rather than dip it into the paint.
7. Talk to your child while they are painting - how does it feel on their hands, which colour are they using....Try painting with fingers, toes, hands, feet......
8. Have fun - it's all about the creative process, just relax and let your child explore and experiment!
Here's my tips for a fun and stress free painting experience!
1. Prepare your area. It's not going to be a fun experience for you or your child if you can't relax because you're too worried about the mess! Cover the painting surface with newspaper or a large sheet or cloth. I do a lot of activities at my toddler classes on the floor - it allows the children to move around and explore without the restriction of a table and chair - and have huge pieces of plastic sheeting I use to cover the floor. Fill a bowl with some warm soapy water ready for washing and either get your child (and you) into some clothes you don't mind getting a bit painty. Or even strip your little one down to nappy or pants if it's warm enough! Have some towels and wipes/kitchen towel handy. Also have an area ready to put down the finished artwork - if you're doing this outside you can peg the finished paintings on the washing line to dry!
2. Get some large pieces of thick paper. Thin copier paper won't withstand an enthusiastic painter! I love lining paper - cheap to buy in bulk and you can cut off as much as you want. Thick sugar paper is also good. The bigger the better as it allows your little one the freedom to get creative over a much bigger space.
3. Use thick paint. It reduces splashing from enthusiastic little hands. The texture of the paint is also important for little ones to allow them to explore the sensation of the paint on their hands and fingers. You can buy paint especially made thicker for finger painting (ELC sell pots of it) or you can make your own using cornflour, water and food colouring! You can also add texture to the finger painting experience by adding a little play sand to paint for extra sensory stimulation.
4. If you're trying finger painting with a very young child who is still exploring everything with their mouth try making "edible paint" - finger painting with vegetable purees (carrot, pea), drinking chocolate, yoghurt, even jelly is lots of fun!
One of my own little ARTventurers after a fingerpainting session at home - Isaac age 13mths.
4. Use plates to put the paint onto so it's accessible for little fingers and hands. I have a load of plastic dinner plates that are fab for toddler painting.
5. Choose bright vibrant colours and put out one colour on each plate. Otherwise it will quickly become a large brown sludgy mess! But encourage colour mixing on the paper - what happens if you put red over the yellow or blue and red?
6. Some children will dive straight into the paint and get started straight away! Some will be wary of the sensation of the paint on their hands and be unsure what to do. Show them by getting stuck in yourself - show them how to make fingerprints and handprints on the paper and they'll soon get the hang of it! Some children may be happier to have their fingers or hand painted with a paint brush first rather than dip it into the paint.
7. Talk to your child while they are painting - how does it feel on their hands, which colour are they using....Try painting with fingers, toes, hands, feet......
8. Have fun - it's all about the creative process, just relax and let your child explore and experiment!
Subscribe to:
Posts (Atom)