Thursday 17 May 2012

Toddler painting with watercolours!

This week we broke out the watercolours at Little ARTventurers! I love using liquid watercolours with my weekend art club children as the colours are so bright and vibrant but this is the first time I've introduced watercolours to my toddler classes and I have to admit that I was slightly nervous.....!

I mixed up 3 tubs of watercolour paint with a few brushes in each tub to keep them seperate and avoid the colours "muddying". I also put out some oil pastels and wax crayons and some tissue paper and PVA glue.

As I didn't have any watercolour paper in large enough sheets for toddlers to work on I used large pieces of lining paper and it worked well enough.

A few of the children were a little unsure at first - it's obviously a different consistency to the ready mix paint they're used to! Some of them wanted to do their favourite thing - handprints - so stuck their hands straight in! But they soon realised that watercolour paints aren't great for handprints and got stuck in with the brushes, swishing and swilling the colour over the large sheets of paper. They seemed to really enjoy the bright colours and how easily they could move the brush and paint across the paper


Some of the older children really enjoyed trying wax resist patterns and pictures (with a bit of adult help at times). We also tore up strips of tissue paper and tried painting on them and sticking them on, gluing them on and painting over.....lots of lovely and quite summery paintings were produced!


Sunday 13 May 2012

The big question - what on earth to do with all my children's artwork??!

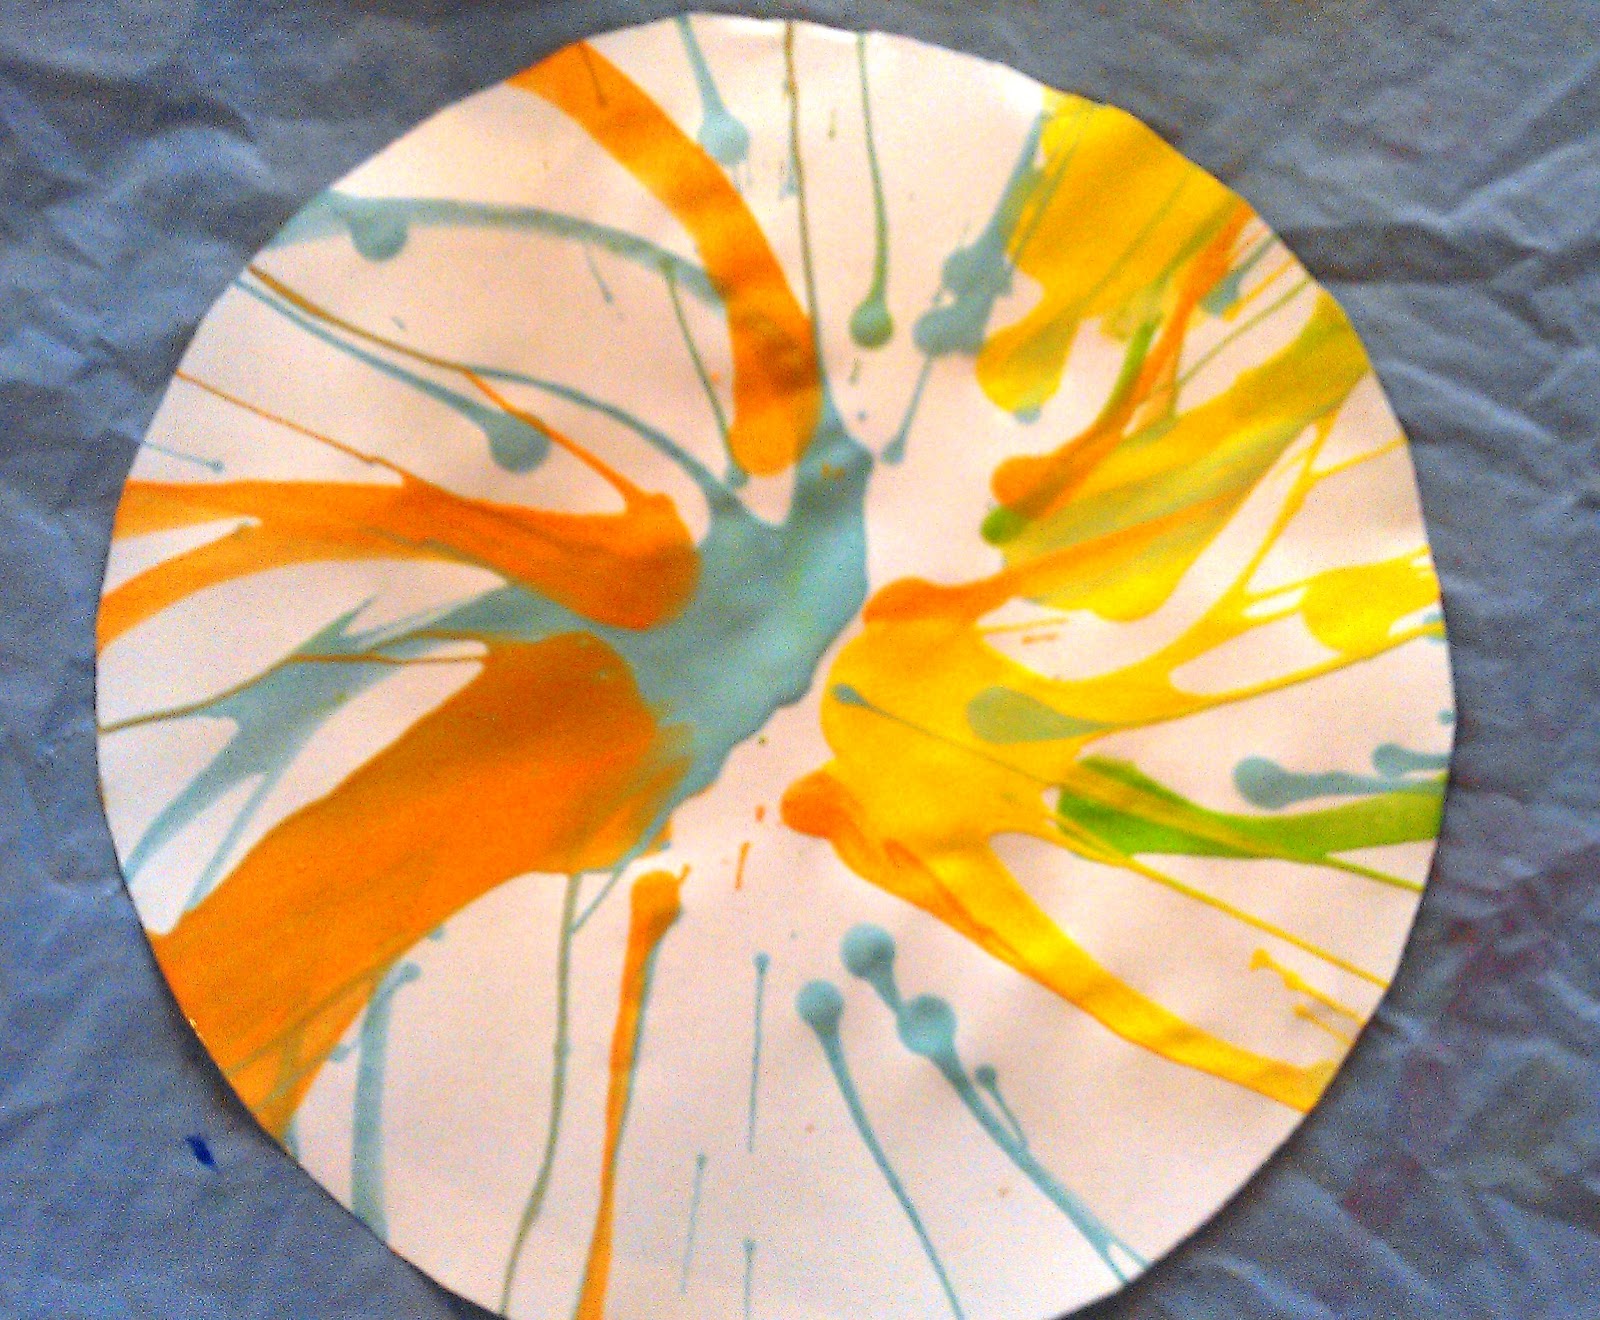
If your children are anything like mine (or if you bring them along to one of the Little ARTventurers classes!) then your home will be overflowing with masterpieces and creations and you'll be struggling to find places to stick them all (a fridge door and kitchen wall is only so big!)


What we do in our house is have a "gallery" in the kitchen where we display the most recent or favourite creations - these are replaced with each fresh batch from my little artists and then the favourite pieces are labelled and dated by me and go upstairs into their big art folders (the portfolio type that students have) to be kept until they're bigger. There are also some paintings and drawings which (dare I say it) do go into the recycling bin - the children know we simply can't keep each and every piece that they've created!

Sounds good and organised in theory - but there are still times when you don't want to hide a favourite painting away, or you want to do something creative with their artwork or simply share it! Here's some of my favourite ideas.....


1. Create a gallery

Easy - choose a space in your home and make it into the children's own gallery -  a wall in their bedroom or a pinboard, a kitchen wall, somewhere in the hall.....children love to see their artwork proudly displayed and it really does help their confidence and self esteem. We use simple old blu tac for our gallery hangings! But I really like this idea from Ikea, using wire curtain rods and clips


2. Frame it!

Some of my very favourite drawings and paintings that Erin and Isaac have produced over the years I have had framed and they're hung around the house in various places. Personally I think they are a lot cuter and much more personal that an Ikea print! I'm also just about to frame a lovely "letter to mummy" that Erin did at school for Mothers Day. I like simple clip frames for kids art - they are easy to open and replace with a new painting whenever you want. Or the freestanding arylic blocks are also great.


3. Scan it

If you can't or don't want to store bits of paper forever and a day then scan and save the artwork so you've still got a permanent reminder of it. At the end of each year you could make a photobook or a calender with your favourite pieces - and great for including pictures of models, clay creations etc which you simply can't keep!

3. Use it for wrapping paper!

We do this a lot with paintings which come home from school and nursery - I save them up and we use them to wrap up presents for their friends and for family. A bit more personal that wrapping paper from Morrisons!

4. Display artwork on a digital frame

I stole this idea from a friend and think it's a really great space saving idea - she scans or photographs her favourite pictures and drawings, and uploads them (is that the right technical term??) onto a digital photo frame! The children love seeing their pictures and drawings appearing on the frame

5. Give it away as gifts

My childrens auntie and cousin and one of their granny's don't live nearby so we save special artwork for the children to take as presents when they go to visit or send it in the post


6. Make jigsaw puzzles!

Of course it depends on the type of artwork but if it's a drawing then mount on a piece of card and then cut into jigsaw pieces for your child to play with! Don't forget to take a photo of the complete picture first before you start chopping it up!

7. Make greetings cards (or other gifts)

Again I put aside some paintings and drawings to make into cards - for thank you cards after their birthdays etc. I just chop the artwork to size (you do have to be a bit brutal!), mount on a piece of folded A4 card and hey presto! If you don't want to do this yourself  there are also all sorts of sites nowadays where you can have artwork made into professionally printed cards - My Design Made (http://www.mydesignmade.com/) is one local business that does a great job of gently enhancing your childrens creations (if it needs it!) before printing it onto stationary (and other gifts too!). There are sites where you can have scanned artwork printed onto canvas bags, tea towels, teddies... you name it!

8. Laminate it

Love this idea and have two paintings set aside to try it with - I'm going to laminate them and let Erin and Isaac use them as placemats. I think they'll love the idea!

Hope some of these ideas are hepful and might have given you some inspiration on what to do with your own little ARTventurers artwork - remember children do love to see their own artwork proudly on display so save, use and display your favourites but  please don't feel guilty about having to send some on their recycling journey! And if you have any other ideas please share!


Tuesday 8 May 2012

Muffin tin printing!

This week at Little ARTventurers we're exploring circles and trying print making! The activity that really went down a storm at this mornings class was making prints with cakes and muffin tins - lots of fun and really simple to try at home


You'll need
Muffin or cake tins
Ready mix paint
Brushes/rollers/sponges
Large sheets of paper (the children wanted to do lots of these prints so have lots of paper on standby!)
Cotton wool buds


The children painted the base of the tins with paint - some wanted to brush the paint on, some using rollers and some used their hands! With the large round cake tins they could then use the cotton wool buds to draw patterns in the paint.


Press the cake tin onto the paper firmly - 1,2,3...and hey presto you've got a fab print!

Friday 4 May 2012

Spin paintings with salad spinners! - our guest blog on Tate Kids!

I was thrilled recently when the Tate Kids website (the Tate Gallery's website for children) asked me to write a guest blog for them about one of the art projects I'd recently done with the Little ARTventurers.

It was a fun activity we'd done using salad spinners (yes, that kitchen essential of the late 70s, very retro!) to create Hirst-inspired spin paintings! Great fun for toddlers - there were lots of laughs and "wow"s during the session!

Anyway, here's the blog ......

http://kids1.tate.org.uk/blog/?p=1337

And a couple of pictures of our spin paintings too!


Thursday 3 May 2012

"Ugly Bugs" week at Little ARTventurers

It's still yukky, grey and cold outside - really hard to believe that it's May already!

We had loads of colourful fun at Little ARTventurers this week though despite those grey skies - the little ones made some fab things so thought I'd share a few pics and activities with you.....

Handprint Butterflies

These were a big hit with the mums/dads/grans/carers - handprint activities are always lovely to look back on, difficult to believe that their hands were ever that small! We started by making handprints on card with ready mix paint - varying degrees of success acheived but they didn't need to be perfect! The first class I ran this week I think I got a bit too giddy with the paint and there were some super-squelchy prints! Subsequently I painted a thin-ish layer of paint on the plate for printing and that worked better

How will you make your handprint - plonk your hands straight into the paint? Get paint on one then rub them together? Paint or sponge your hand?...loads of different ways to try!

Whilst the children were occupied with other activities I quickly cut the prints out and they then made them into these lovely sparkly butterflies - easy and self explanatory really. We added a hole and then hung them up with ribbon :)


Paper plate bugs

A lovely easy activity which I combined with some scissor practice too - plates and paint, splodgers for spots, wiggly eyes, cardboard and scissors for cutting their own stripes or features.....they turned out great! I have a range of different scissors - the easy-grip sprung type for the littlies, some of the teaching scissors with double holes, normal safety scissors....I personally found teaching my own two children to use scissors quite tricky and so I'm always keen to incoporate scissor practice in the classes. In fact I think that scissor skills might be one of my next blog posts.......

Anyway, here's some of our Ugly Bugs......


We also made some cute very Hungry Caterpillars out of the letter "c" - plus some squidgy paint butterflies too!